
Are you experiencing a battery draining issue on your android phone or tablet?
Wondering how to do battery calibration on Android?
If your answer is yes then don’t fret up, this blog will definitely help you to get rid of the issue.
After Apple has come out with a statement that iPhone is surprisingly slowing down their device due to battery draining issues, Android is also not very far from it.
Even Android users can face the same issue and they might don’t know what to do.
But one truth that nobody can deny is that batteries do degrade over time and this battery draining can cause further issues to the device, making the phone’s software misunderstand about how much battery is actually left.
If you are using a smartphone then the battery is one of the major things and as time passes, the battery of Android devices is on much more demand in the last few years. After regular use of your device, you might see some degrading performance on your device.
So to help you out from this situation, I have come up with this blog. Here I will guide you on some effective ways on how to calibrate battery on Android phone and achieve longer battery life.
What is calibrating a battery?
If you are an Android user then you should know that Android OS has a feature called Battery Stats that tracks the capacity of the battery whether it is full or empty.
In this, the problem starts frequently when it becomes corrupt and it begins to show wrong data, and many times the device turns off before it reaches to o percent.

And if you calibrate your Android device then it means that you are correcting the information and your battery begins to show the correct or real result.
Generally, if you see it as a whole then calibrating the Android battery means it helps your Android OS to correct the information that is reflecting wrong.
If you go in deep then you can know that you cannot calibrate the battery itself because it is only a cell, which stores power and then discharges.
But as the battery is a lithium-ion battery so it contains a printed circuit board (PCB) that works as a protection switch to stop exploding or deep charging.
Should I calibrate the battery?
Many times the problem is not only due to battery and this is so then you should look for other reasons. When the problem is big then you should take your phone to a repair shop or if a battery replacement is required to replace then go with the original third-party battery.
If the battery is having some problem then it’s better not to go with that battery for long as it can only give you headaches. In fact, you should also keep in mind that there are several other reasons that can lead to battery problems.
When your phone faces a problem in charging then it can be due to the charging port, so it’s better to check your charging port once.
Even some other conditions can make your device’s battery drain fast like if you have updated firmware of your device.
In this situation, you have to clear the cache partition to get rid of the problem.
But there are a few things that you should do before you begin to calibrate your Android battery.
Check the below steps for more details.
-
Check if your Battery is the problem
If your device supports a removable battery then you can take it out and just check whether it is swollen or bloated or something like that.
These things can indicate that your battery is damaged and in this situation, calibrating will not help you anyway.
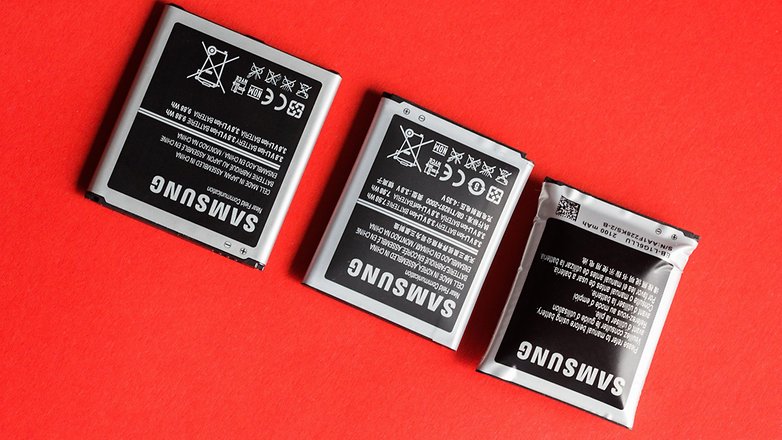
Its simple method is you have to replace the bloated or swollen battery when there is physical damage or even you can take it to repair shop.
As nowadays, the removable battery is seen very less as all the Android devices are coming with a non-removable battery.
-
Clear cache partition
While upgrading your Android OS to any new version or while flashing a custom ROM, a battery-draining issue is a common thing.
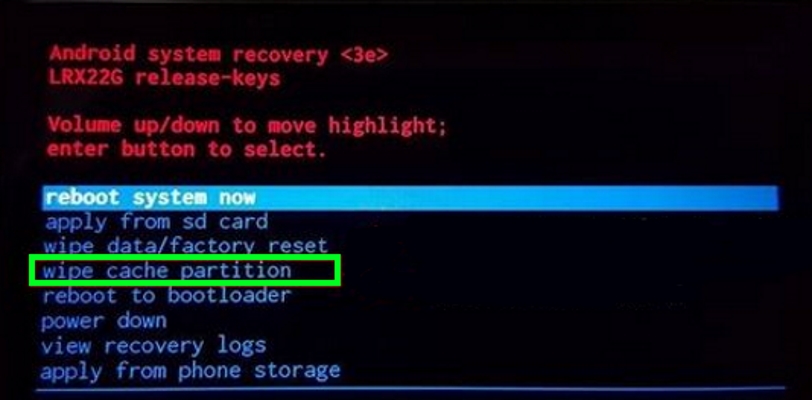
So, in this condition, battery calibrating should be done but before that, you should clear the cache partition of your Android device.
To do this, reboot your device into recovery mode, move to “Wipe Data/Factory reset” and then click on “Wipe Cache Partition” option
After this process is over, you can now move further to calibrate your Android battery.
How to calibrate mobile battery of your Android device
Here you will get the best steps to calibrate your Android device of both non-rooted and rooted devices.
For Non-Rooted Devices
When you don’t have any idea on how to root your device then it’s better to go through this method. This method is a lengthy one but you don’t have any other option when you don’t have root.
In fact, you will get several apps, which work effectively to calibrate for non-rooted devices but do not work always.
So it’s better to follow the below useful steps for non-rooted devices.
- The very first thing, boot up your phone and charge the device until it becomes fully charged. When you see it’s charged fully, continue charging for the next one hour to charge 100%.
- Now unplug your phone and switch it off instantly
- Again plug your device and again charge it for one hour
- Now switch on your device and continue the full charge process for another one hour
- Repeat steps two and three
- When this is over, use your device as normal. And don’t charge your device until it is not drained completely
- Now it’s over, and your Android device must show real battery level
These entire steps work effectively as it deletes and reset the battery stats database. Also, remember that irregular charging of your device sometimes goes beyond your expectation and it starts to show the wrong battery level.
For Rooted Devices
Now if you have a rooted device then you are lucky somewhere. Because calibrating your device on the rooted device is a simple process compared to a non-rooted device.
Even you can some simple apps also which works to correct the battery level on Android.

Though you will get several methods to do this but going through the simplest steps would really work immediately. Go to the Play Store from the widget and then download the app. This app is known for its simplest performance.
After you launch this app, you will see the screen below from which you have to follow the steps below:
- Launch the app after you download it where you have to grant SuperUser permission for the app. You have to accept it
- Now charge your battery to 100% after plugging your device into the charger
- When your device is 100% charged then tap on the ‘Calibrate’ option
- Now its time to unplug your device from the charger
- When this is over, you have to complete a full charge-discharge cycle and that’s it
Conclusion
That’s all I have for you in this blog that completely discussed how to calibrate battery on Android phone. I hope that you can now easily calibrate your Android device on both rooted and non-rooted devices.
Both the methods are effective and work to show you real battery time and level without any problem.
When nothing goes on mind then you can move further to the repair shop or if possible then change the battery, but ensure it is the original one.
You can further reach us through our social sites like Facebook, Twitter

Sophia Louis is a professional blogger and SEO expert from last 11 years. Loves to write blogs & articles related to Android & iOS Phones. She is the founder of Android-iOS-data-recovery and always looks forward to solve issues related to Android & iOS devices