Step 1: Connect your Android device
After you install the Android Repair software, search for “System Repair” option and tap on it
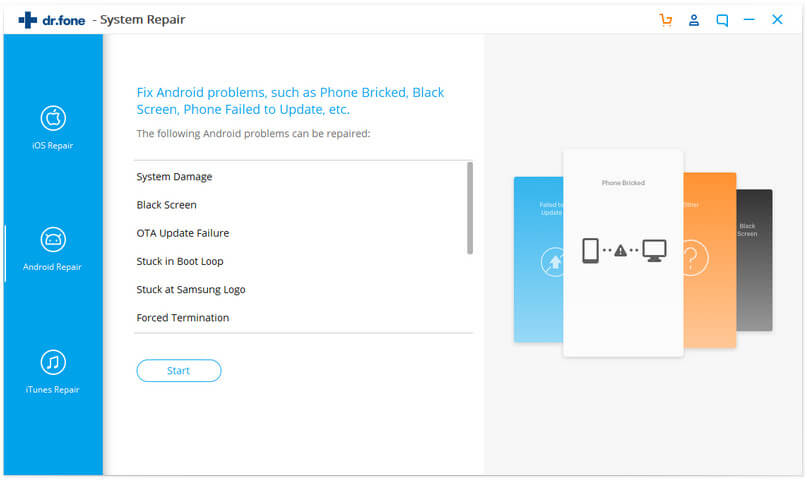
Now connect your phone to PC via USB cable and then tap on “Android Repair” among 3 choice
Here in device information screen, choose correct brand, model, name, country/region and carrier details. After that, confirm warning message and tap on “Next
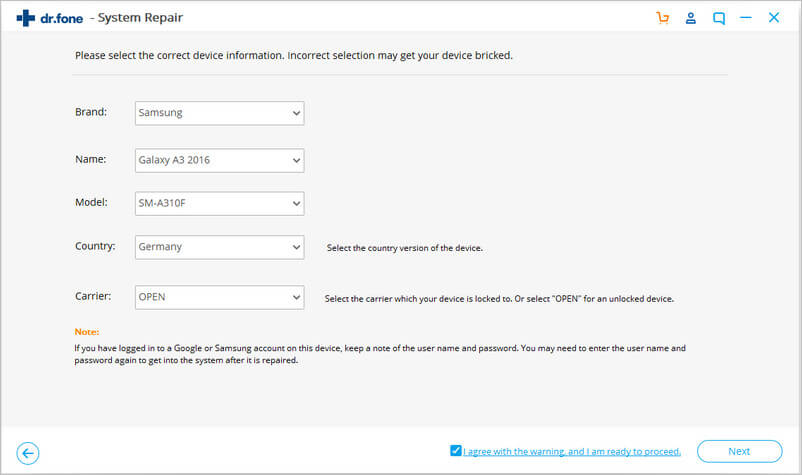
This will erase all data on your device. Type “000000” to confirm and then proceed
NOTE– It is recommended to backup all your Android data before you select repair option for Android

Step 2: Repair Android device in Download mode
Before you proceed to repair mode, it is important to boot Android phones in Download Mode. Below are the steps to boot Android phones in DFU mode.
For a device with a Home button:
- First, switch off your phone or tablet
- Now press and hold Volume Down, Home, and Power buttons for 5s to 10s
- After that, release all the buttons, and then press Volume Up button to enter the Download mode

For a device with no Home button:
- First, switch off the Android device
- Now, press and hold the Volume Down, Bixby, and Power buttons for 5s to 10s
- At last, release all the buttons, and then press Volume Up button to enter the Download mode

Now tap on the “Next” button and the program will begin downloading firmware

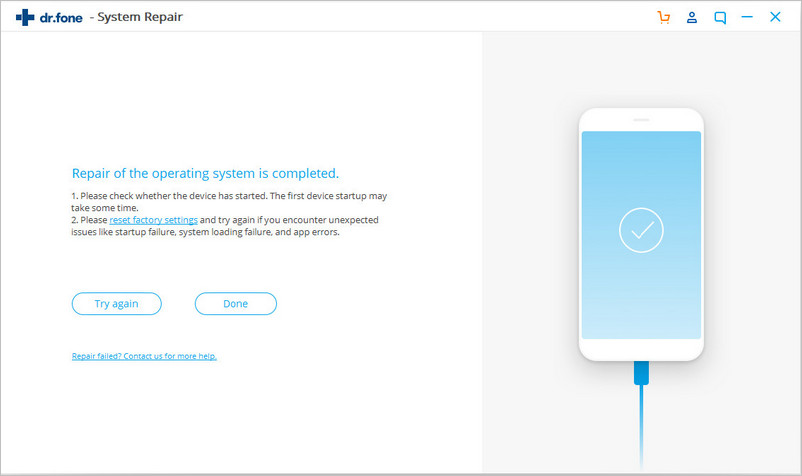
As soon as downloading and verifying the firmware is over, the program will start repairing your Android phone automatically

At last, all the issues on your Android phone will be resolved now