Step 1: Connect your iOS device
First, launch iOS System Repair and then select the ‘Repair’ option

After that, connect your iOS devices (iPhone, iPad, iPod touch) to your PC via USB cable. When the software detects your device then click on “Start” to continue the process.

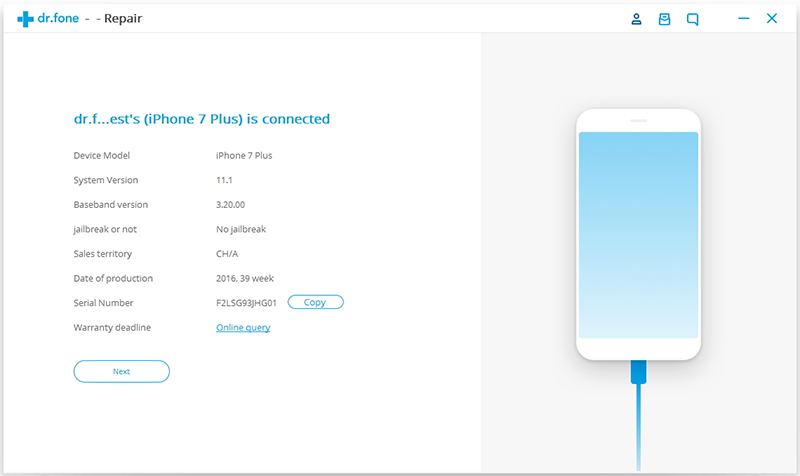
After that, it will display the device information like model name, system version, baseband version, etc, and then click on Next to continue.

Step 2: Boot your iOS device in DFU mode
If you face a problem in your iOS device that is not functioning normally then the software will remind you to boot the device in DFU mode. After that follow the instructions to boot your iDevice in DFU mode.
- First power off your iPhone
- Press and hold the Volume down button and power button altogether for 10 seconds
- Now release the power button but hold the Volume down button until DFU mode comes on the device

Steps to boot other devices in DFU mode:
- Switch off your iPhone.
- After that press and hold, the Power button and Home button together for 10 seconds.
- Now release the Power button but hold the Home button until the device is in DFU mode.

Step 3: Select and download the firmware
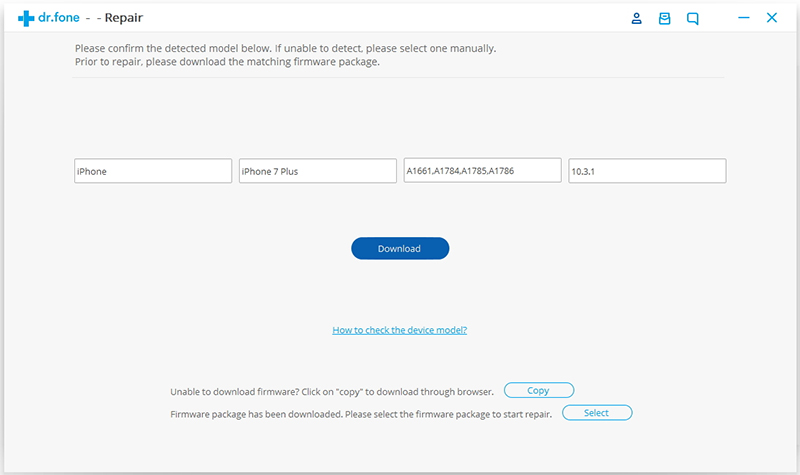
If you want a successful recovery then select the correct model and firmware and after that click on Download.

As the firmware is large so it may take some time to download completely. In between, you make sure that the network is good. If you face any trouble in downloading firmware then you can simply click on Copy to download the firmware from Apple’s official site and select to restore download firmware.

Step 4: Fix iOS to normal status
After the download is finished, click on “Fix Now” to begin repairing your iOS and make your device work normally again.

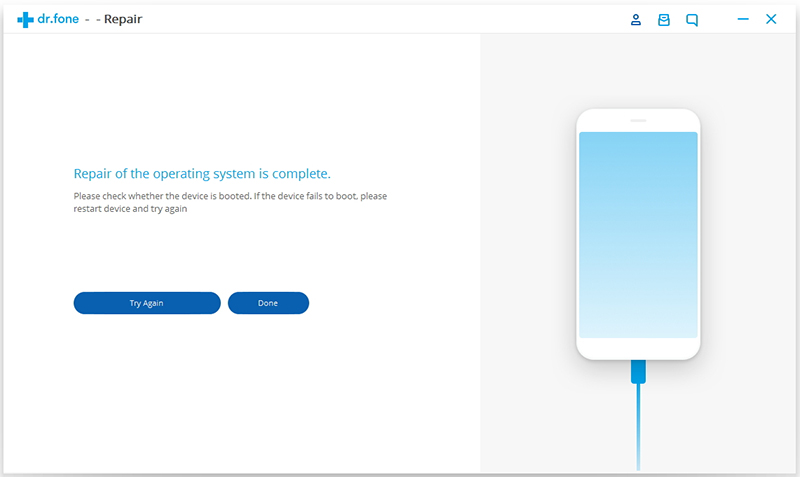
At last, when the entire process completes, your iOS devices will restart into normal mode as usual. If the device does not boot normally then click on Try Again to start the process.
