Did you stuck on an error “cannot verify server identity” on iPhone 15/14/13/12/11? Are you looking for some fixes to get rid of the cannot verify server identity iPhone 13?
Well, you are not alone with this error. This kind of issue occurs to many iPhone users when they use their mail app. The problem is due to mail server verification and this stops from sending or receiving emails on iPhone.
However, if you are struggling to fix the error then go through this article. Here, I will explain to you some best and most effective methods to fix cannot verify server identity on iPhone.
- Restart Your iPhone
- Restart Mail App
- Delete Your Account And Add It Again
- Check For Secure Network Connection
- Disable SSL Encryption
- Update Operating System
- Check For Correct Date And Time
- Reset Network Settings
- Check & Update Your Carrier Settings
- Reset All Settings
- Check Downdetector
- Factory Reset Your iPhone
- Best Way To Fix Cannot Verify Server Identity On iPhone 13/12/11
About Error Cannot Verify Server Identity
This kind of error pops up when your iPhone tries to connect mail server securely. It gets the “SSL certificate” of the server and then checks whether it is trustworthy or not. If the certificate is expired or does not match the domain then it will be marked as unmatchable.
This time, the secure connection fails and your iPhone will throw an error “Cannot Verify Server Identity”.

Users can also get such types of errors on other popular mail servers such as eas.outlook.com, imap.gmail.com, etc.
Reasons Behind Server Identity Verification Error
There can be several reasons behind the server certificate error. Some of them are mentioned below:
- A new user was added due to which the server certificate was replaced
- Email migration is yet another reason for the error
- Your account is still set up for the first time
- Sometimes, the iOS bug also leads to server identity error
These are some reasons for server error whether the protocol is EAS or IMAP.
How To Fix Cannot Verify Server Identity On iPhone 15/14/13/12/11
Well, it’s time to look at all the possible methods that will help you to fix “Cannot Verify Server Identity” on your iPhone. No matter whether whatever reasons have led to such an issue, following the below fixes will help to tackle it easily.
So let’s read further.
Method 1: Restart Your iPhone
The first method that is suggested to you is to restart your iPhone. Restarting the device has the ability to fix any kind of minor glitches or bugs that lead to such errors. Therefore, once restart your device remember, that this is not a permanent solution. If this method does not solve the error then move to the next method.

Method 2: Restart Mail App
If restarting does not work for you then it’s suggested to quit and restart your mail app once. By doing this, there is a chance to get rid of the issue. So if your Mail app is opened then simply quit the app first. After that, open the app and check if everything is working as before.
Method 3: Delete Your Account And Add It Again
Another best solution to fix cannot verify server identity iPhone 13 is by deleting your account once. Once deleted, add it again after some time. There is nothing to worry about because nothing will get lost and your data will remain as it is.
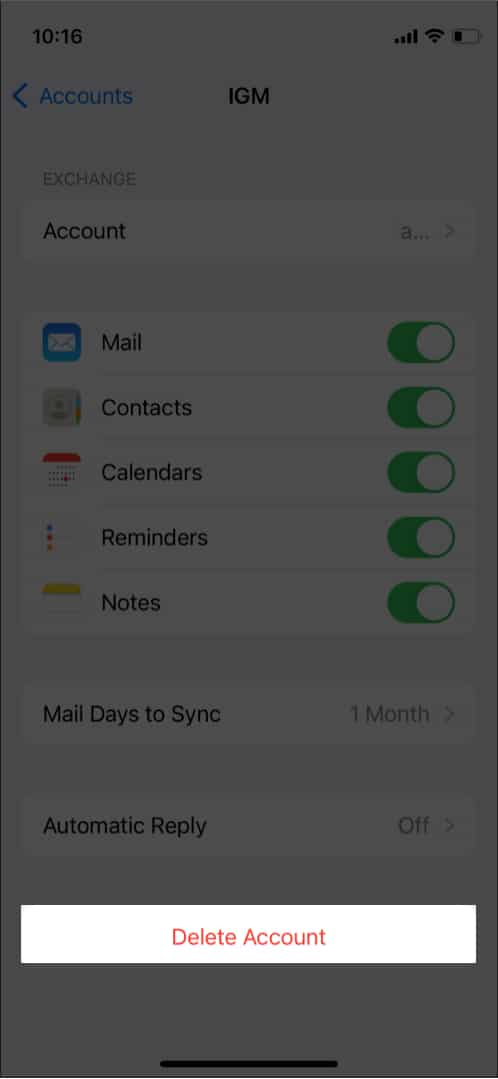
Follow the steps to remove your email account:
- First, open Settings on the phone
- Now, choose Mail > Accounts
- Next, click on the Email account that you want to remove

- After that, click on the Delete option and confirm the selection
Here is how to add an email account again:
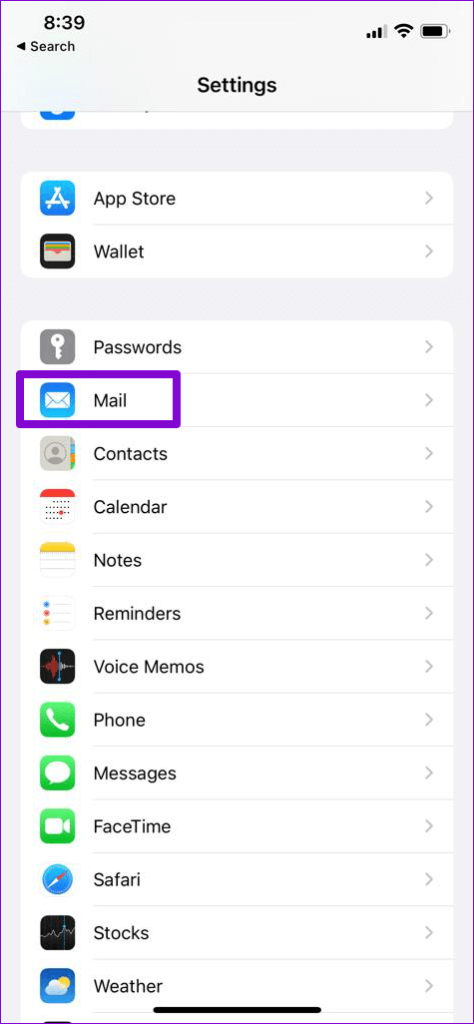
- First, launch Settings on your iPhone and move to Mail
- Now, choose Account > Add account

- Here, select the email service provider
- At last, follow the instructions on the screen and add your details.
After doing this, you can solve “cannot verify server identity” error on iPhone 13/12/11.
Method 4: Check For Secure Network Connection
Most of the time, the error cannot verify server identity when connecting to wifi occurs when you are using a public network on your phone. But public networks are less secure and put you in trouble.
So if you are going through this error then it’s better to switch to a private network or phone data. By doing this, your connection will be secure and you will not get such errors on your iPhone in the future.
Method 5: Disable SSL Encryption
Do you know that SSL encryption is liable for putting you in trouble with such kind of error? Yes, SSL is completely guilty of encrypting the connection between mail and server. When there is any issue between SSL certificates and the server then popups “Cannot Verify Server Identity” error.
Therefore, you should disable SSL encryption to check if the error gets resolved.
Here is what you have to do:
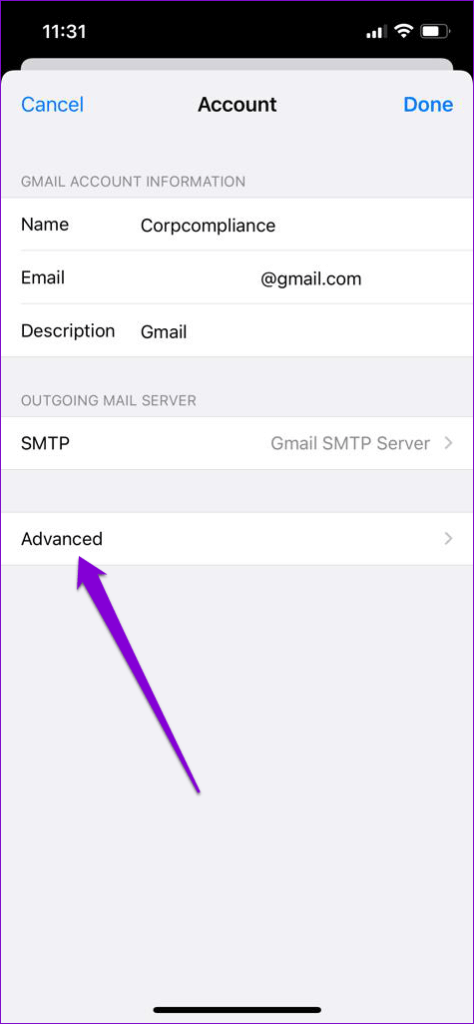
- First, launch Settings on your iPhone move down to Mail, and click on it
- Now, open Accounts and choose the email account showing the error

- Next, click on Email ID
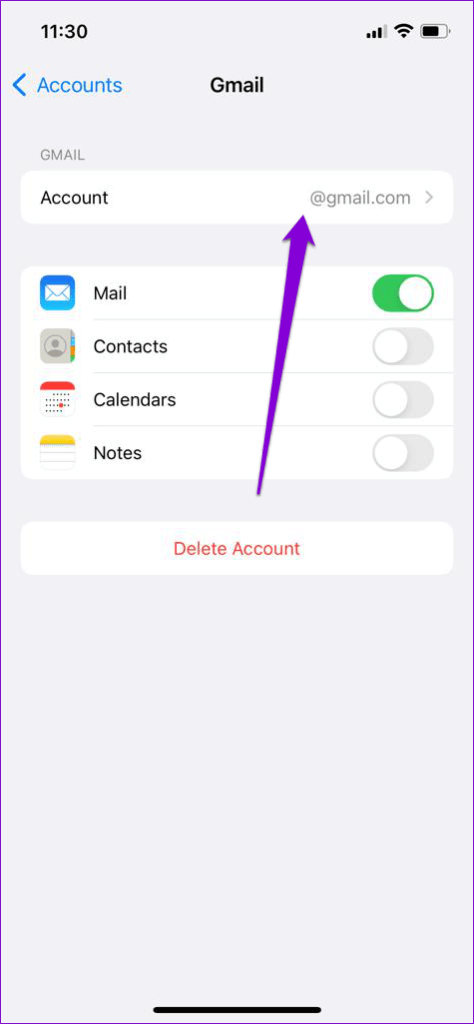
- Then, move to Advanced and disable the Use SSL option
Remember, if this method works for you then ensure to enable “Use SSL” after some time.
Method 6: Update Operating System
If the error continues then check whether your iPhone OS needs any update. Remember, updating the latest version helps to get rid of bugs or glitches that lead to such errors.
Here is what you have to do:
- First, open Settings on your iPhone
- Now, click on the General option
- Next, find and select Software Update

- After that, check if there is any update available
- If yes then simply tap on Download and Install option
Method 7: Check For Correct Date And Time
Sometimes, the wrong date and time on the iPhone can also be the reason for the error cannot verify server identity on iPhone. This incorrect date and time show the connection error between the Mail app and the server. Therefore, don’t set a date and time manually, rather set the date and time by using the network.
Here is what you have to do:
- First, open the Settings app on your iPhone and go to General

- Now, click on Date & Time and toggle on the switch of Set Automatically

After doing this, check if the error is resolved or not.
Method 8: Reset Network Settings
One of the main reasons for coming across server identity problems is network-related. Such issues can stop the Mail app from communicating from the server. Therefore, you can reset network settings on your iDevice to fix cannot verify server identity on iPhone 13 Pro Max.
Here are the steps to follow:
- First, launch Settings on iPhone > go to General > click on Transfer or Reset iPhone
- Now, click on the Reset option and then select Reset Network Settings from the menu
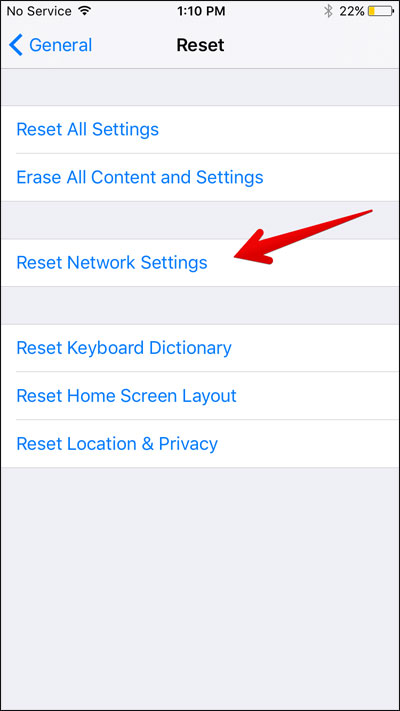
- If asked, enter the lock screen password and then start the restoration process. Once the network setting is reset completely, re-open your mail and see if everything is working fine.
Method 9: Check & Update Your Carrier Settings
The error ‘cannot verify server identity keeps popping up on iPhone’ can also be due to a network settings conflict. In this situation, you need to check and update your carrier settings to get rid of the issue.
Follow the below steps:
- First, open Settings and click on General
- Now, click on the About option

- After that, follow the instructions to install the carrier update
Method 10: Reset All Settings
If you get the error “cannot verify server identity” on iPhone 15 continuously then you should reset all settings. But doing this step will delete all data from the Settings app. This method is useful and it helps to get rid of the issue easily.
Here are the steps to follow:
- First, go to Settings on iPhone
- Then, click on General > Reset > Reset All Settings

- If any password is required, enter it
- After that, click on Reset All Settings option
That’s it.
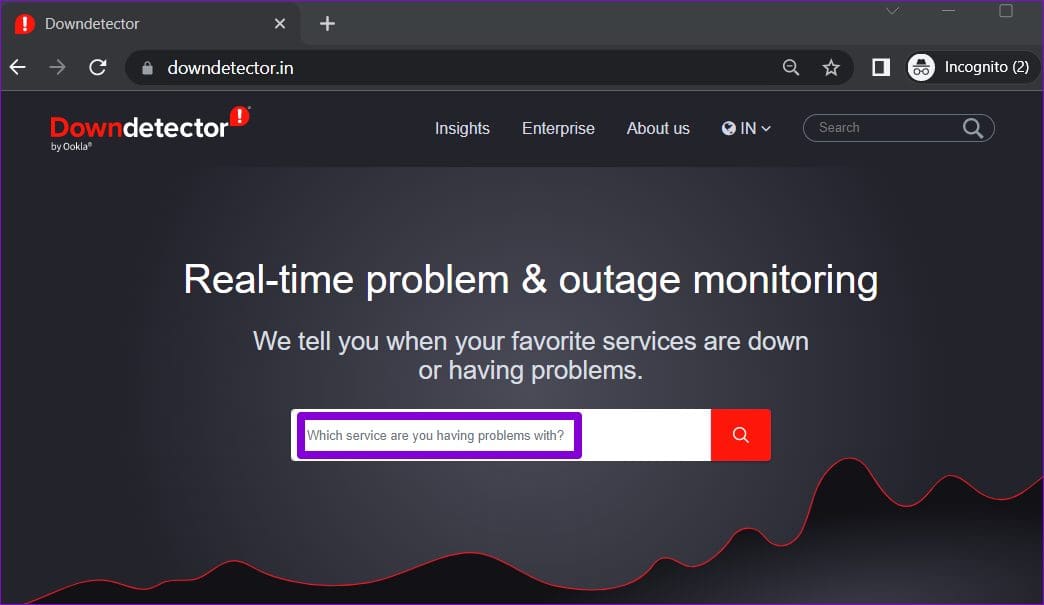
Method 11: Check Downdetector
There can be a server-side problem on your mail that can lead to ‘cannot verify server identity iPhone 14’. To confirm the issue, you can visit Downdetector website. It will tell you if there is any server problem going on.
Simply type the name of the email provider and click on Enter to know the details of the issue.
Method 12: Factory Reset Your iPhone
The last option left to fix cannot verify server identity on iPhone is to do a factory reset. Remember, this method will delete all data stored on your phone. So before proceeding with the steps, kindly back up all your important stuff in a safe place.
Now, follow the below steps to factory reset your iPhone:
- First, open Settings on your iPhone 13/12/11
- Now, choose the General option
- Next, click on Reset iPhone
- After that, choose to Erase all content and settings
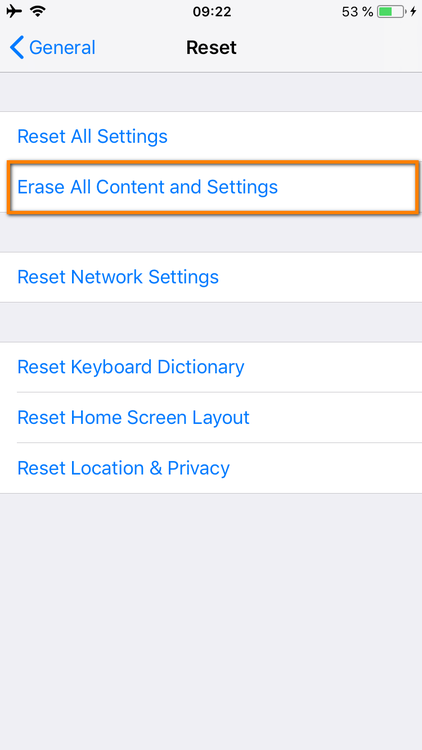
That’s it. Now open your Mail app and see if the error is resolved or not.
Method 13: Best Way To Fix Cannot Verify Server Identity On iPhone 15/14/13/12/11
Apart from all the above solutions discussed, I have another best way to fix the issue. You should go for the iOS System Repair tool that is designed to fix cannot verify server identity on iPhone easily. It allows users to get rid of all types of iPhone issues or errors without any data loss.
Not only server identity problems but troubleshooting other issues as well like iMessage not working, WhatsApp iCloud backup stuck, iPhone stuck on Apple logo, iPhone stuck on white screen, and many more. The tool supports all iPhone models like iPhone 15/14/13/12/11/X/XR/XS/8/7 along with the latest iOS 17/16/15/14/13/12 versions.
Therefore, simply download this amazing iOS Repair tool to get rid of “Cannot Verify Server Identity” error on iPhone.
To know how to fix the issue, follow the complete user guide.
Free Download iOS System Repair Software


Conclusion
So this blog ends here where I have discussed the best ways to fix cannot verify server identity on iPhone. This kind of error can occur due to several reasons but nothing to fret about. There are ways to get rid of it and this article is there to help you.
If you are looking for an advanced solution, then go for the iOS System Repair tool. This is easy to use and allows users to fix the error with one click.
Further, if you have any suggestions or queries then drop them in the comment section below.
You can further reach us through our social sites like Facebook and Twitter. Also, join us on Instagram and support us by Subscribing to our YouTube Channel.

Sophia Louis is a professional blogger and SEO expert from last 11 years. Loves to write blogs & articles related to Android & iOS Phones. She is the founder of Android-iOS-data-recovery and always looks forward to solve issues related to Android & iOS devices