Part 1: Back up your Android phone
Step 1: Connect your Android phone to computer
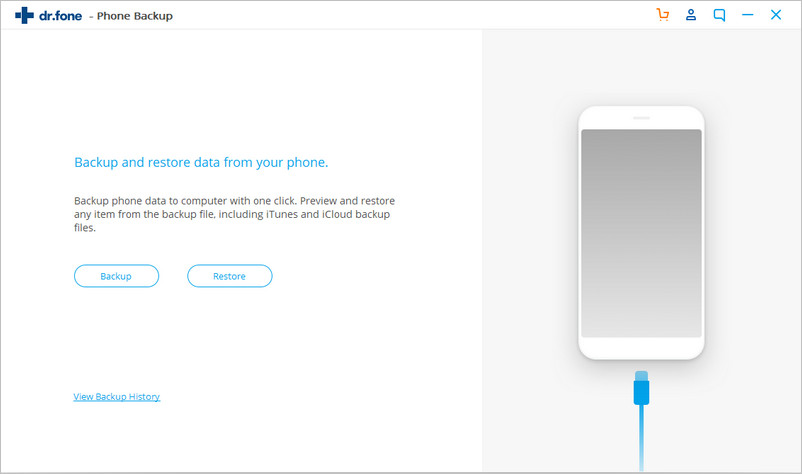
Launch the software first and then select the “Phone Backup” option

After that, connect your Android device to the computer via USB cable. Also, be sure that you have enabled USB debugging mode on your phone. Now here if your device has OS version 4.2.2 or above then a popup window will occur asking you to allow USB debugging, so press OK.

Now hit on Backup to begin the backup of Android phone data
In addition, if you have any previous data that you have used to back up with this software then obviously you can also see that in “View backup history”
Step 2: Select file types to back up
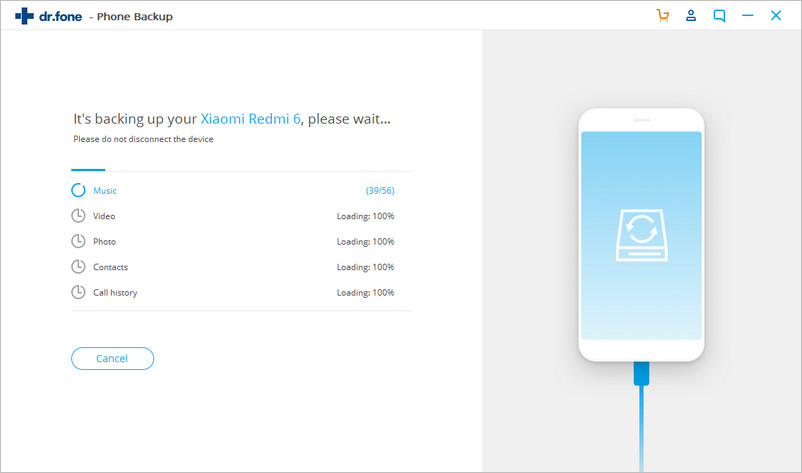
When the Android device is connected, now you have to select file types that you wish to backup. After that, click on Backup to begin the process.

Here you have to wait for few minutes until the process gets completed. It is advised not to disconnect the device in between or don’t use the device

At last, when the backup is finished, you can click on View the backup button to see that you have backed up.

Part 2: Restore the backup to your Android phone
Step 1: Connect your Android phone to computer
Launch the software on your PC and select Phone Backup. Now connect your android phone to a PC using a USB cable.

Step 2: Select the backup file you wish to restore
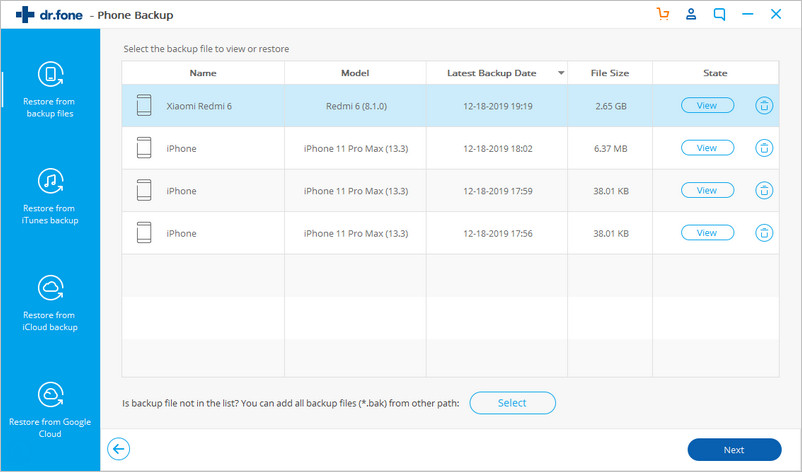
As soon you click on the Restore button, the program will display entire Android backup files on PC. From there you have to select the backup files that you want and hit View next to them.

Step 3: Preview and restore the backup file to Android phone
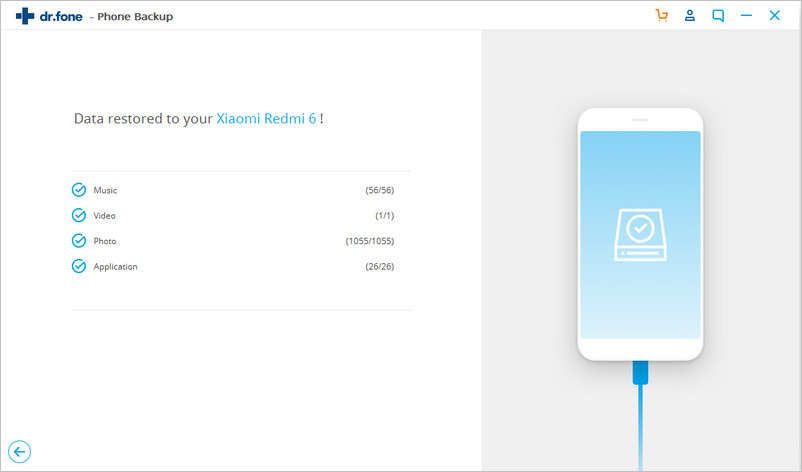
Now you can preview each file in the backup. Just check the files that you want and hit on Restore to your Android phone.

This entire process takes few minutes, so don’t disconnect your device or open any Android phone management
